Connected Components Workbench (CCW) PLC Programming Software Training
Rockwell Automation's Connected Components Workbench software is the programming software for one of the newer PLC product lines called the Micro800 controllers.
This is free PLC programming software that you can download from Rockwell's website here.
Search for CCW, choose "Standard" edition, choose the latest version and then follow the prompts to download the software (NOTE: you'll need to setup a free account with Rockwell if you don't already have one).
Now let's jump into the training video!
VIDEO TRANSCRIPT BELOW
Hey there guys. It's Stephen Gates from myPLCtraining.com, with another video to help you become a confident plc programmer. In this video, I'm going to introduce you to one of Rockwell's newer plc programming platforms, and particularly the software involved with this platform. And that is called Connected Components Workbench, sometimes shortened with CCW. So, this is the software used to program Rockwell's micro 800 control systems. So they have micro 810, the micro 820, 830 and so on, controllers.
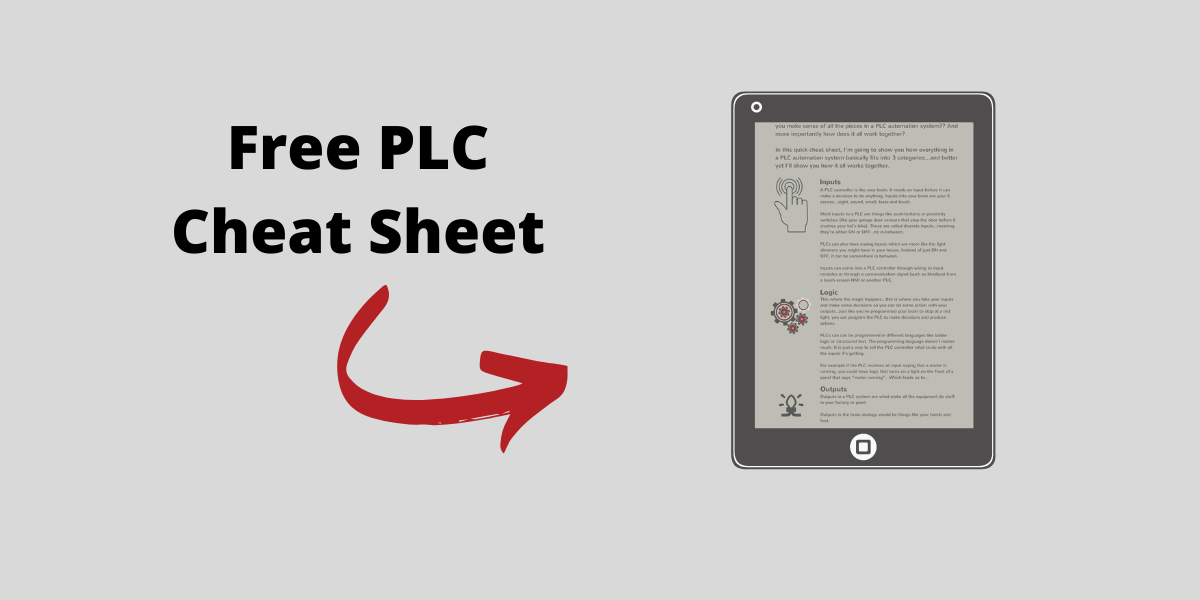
And before we get started, I wanted to let you know about a free cheat sheet I have, where I'll show you the three things you need to know to understand any plc system. So, if you're interested that, be sure to click the link below I can send you that free cheat sheet. It will take you to a landing page, and I'm going to ask you for your email address if you would like the cheat sheet.
So, back to the training. The micro 800 controllers are still pretty new, and the programming software connected components workbench, is actually a lot different than software for the other Rockwell plc's and pac's. In my opinion, this is kind of a bummer since it's always a pain to learn a new or a different programming software interface. But the good news is, that it's really not that complicated. And the software's free from Rockwell, at least the basic version is, which is great for those who are trying to learn to program plc's on their own.
Also, for some people who are not familiar with Rockwell plc's and maybe who have done automation direct, or something similar, connected components workbench might be easier for you than say, arsologic's 5000. So, if you're looking for training on the more traditional plc programming software from Rockwell, I'd encourage you to check out this free training I did for programming micro logic's controllers. It's a free mini course, and so that would be linked below in the description.
So, here we go. We are in connected components workbench standard edition. So, the first thing we want to do to create a new project from scratch, so we'll choose from the file, choose new. And the project name, we'll just all it my plc training demo, December. Then click create. Okay. So, now we want to add a device, and so we are going to choose from the micro 820 folder, just for the sake of this demonstration. And why don't we choose the 20AWBR, and then click add to project or select. And then add to project. And it's creating the project controller.
Okay. Now we can see the controller we have chosen, which is pretty cool because you can click around on the controller to do different things. So, if we select the general menu item, we can see that you can actually give the controller a name. Let's call it My Plc Training_Micro820. Th only thing we will do in the configuration before creating some logic, is to set up the ether net IP address. So, let's go to ethernet and then we will configure IP address, settings. So, we're going to make this a static IP address.
So, let's just make it 10.10.10.2, and then we'll make the subnet mask standard 255, 255, 255.0. And we don't need a gateway address right now, so we'll leave that blank. Great. Now our controller properties are configured. Now let's set up a basic program, by right clicking programs here. And we'll add a new ladder diagram. Okay. So, right away, it adds a program called Prog1 or program one. And under it, it adds local variables. So, that's what would be the equivalent, if you're familiar with studio 500, that would basically be the equivalent of the program scope tags. The local variables are just like program scope tags.
All right. So, lets open up the logic editor, and see how it works. So, we double click the program one, and it opens up the editor for program one. So immediately, we can see that it's quite a bit different than RSLogix 500, or even Studio 5000 Logix designer. So, here's a first rung, and it's in here by default. If we want to add some ladder logic constructions, we'd look over here to the right. The tool box tab and we have some common instructions for later logic. You can add a rung, you can add direct coil. Reset coil, direct contact, reverse contact and so on.
So, they don't call their instructions even the same thing as what they would be called in previous or other Rockwell software, which again is kind of frustrating. But it helps you get familiar with other plc brands by doing this. So, direct contact would be the equivalent of an excise C. As you can see, it looks like any normal open contact. You can just drag and drop. So, I've dragged it and I've dropped it there. And immediately, it brings up the variable selector. So this is like your tag list. So, what tag do you want to assign to this contact? And we don't have any tags or addresses set up yet, but let's go ahead and add one of the discreet inputs from the controller. The built in discreet inputs, to assign to this direct contact instruction.
So, let's look down here. We have IO_EM_DO_00, 01, 02, so on. And then we get to the DI's, so I happen to know that DO stands for discreet output, and DI stands for discreet input. So, we want a discreet input for sure. So, let's choose 00. So I'll just double click that and it assigns that to our direct contact, which is great. Okay. So, now let's add an OTE which is not called OTE in this software. It's called direct coil. So, let's just add that. And again, it pops up the variable selector. So this time, we will choose one of our discreet outputs, and so we'll choose this first one, IOEMDO, or discreet output 00. Double click that, and there's our first very basis run of logic. A direct contact driving a direct coil, also known as an XIC driving an OTE.
And so, from there, you can see that it's very similar to later logic in other Rockwell software or other plc's. Very straight forward. So, let's say we want to be more descriptive about what these IO points do. So we can assign alias names, similar to studio 5000. So, let's go to the global variables folder. This is basically the equivalent of the controller tags in studio 5000. This output DO00, we're using that. Let's assign a name to that so it's easier to know what it's doing. We'll say this is a system control light, so system control manual light. So, it tells us when the system control switch is in manual and the discreet input is actually the system control switch being in auto.
So, if we go back to our program, we'll actually change these. So, this will be system control manual light. And this will be system global variables system. Okay, so we're going to use the system control switch auto alias, which is our discreet input 00, we're going to use that as our XIC. Except we really need to make this and XIO or as we call it in here, reverse contact because ... Let's just that first and then I'll explain it. You do that because this is a manual light, so if we want the auto switch to control when the manual light turns on and off, then we need the word auto. The manual switch light is off. And whenever we're not in auto, that's when we turn on the light.
All right. So that's the basics of setting your ladder logic program. Obviously, there's a lot more we could do with other types of coils, pointers, so on. There are other instructions as well, loose timers and so on, but we won't get in to that right now. We'll just stick with this basic program. And before we end this tutorial, let me quickly show you how to get this program downloaded to a micro 820 controller. So, there's a couple different ways to do this. But first, we need to compile or verify the project. And we can do that by using this button, that's called build, so builds the project.
This is kind of a verify. Build started, project controller. It's going through the process here. Build one succeed, zero failed, zero up to date, zero skipped. So, that is good news. So, we're in good shape. So, let's go ahead and choose download. So, we right click the controller and we click download. And now we see something that's familiar. This is similar to studio 5000 Logix designer, and the other RSLogix software. We get a connection browser, similar to RS Who. And we can see the different drivers we've installed in RSLinx, and we can choose our controller from one of these drivers, to download to. And I don't know have a micro 820 to download to today.
So, you'll just have to use your imagination about what you would do from here. But choose your controller, click okay and follow the prompts to download the project. So, pretty simple. So, there you go. That's an introduction to connected components, workbench. Obviously, there's a ton more you can do with it, but that's a good start for those who are somewhat familiar with other plc programming software. Be sure to download this free software from Rockwell's website and play around with it.
And I think you'll see that even though it's quite a bit different than RSLogix software, that it's really not too difficult to learn. So, if you like this training and you're interested in becoming a confident plc programmer, definitely encourage you to check out my free cheat sheet called three things you need to know to understand any PLC system. So, if you're interested in that, be sure to click the link the description below. Thanks for watching. We'll talk to you next time.
Get the Free PLC Cheat Sheet
PLCs are really not that complicated. If you are new to PLCs or just looking to get a better handle on how they work, check out this free cheat sheet, called the "Motivated Electrician's Guide to Understanding ANY PLC System."


New to PLCs?
You can breeze through this cheat sheet in about 10 minutes and get a solid understanding of the big picture of how PLCs work. Perfect place to start.
Recent Posts