Studio 5000 Logix Designer - Comparison Instructions
Comparison instructions are important for handling analog inputs into your PLC. Check out how to use the basic compare instructions and some cool things you can do with them!
This is just a sample of the type of training you'll learn from myPLCtraining Academy and the Confident PLC Programmer Method...if you want to know more if you need to start with a little basic stuff before getting to comparison instructions then we have the perfect training method for you. Click below to learn more.
The Confident PLC Programmer Method
Enjoy and I'll talk to you again soon!
Stephen
VIDEO TRANSCRIPT BELOW
Hey guys, it's Stephen with myPLCtraining.com and today I'm going to do a quick video on how to set up and use comparison instructions in Studio 5000 Logix Designer.
If you're wanting to start creating better PLC programs that handle analog inputs or you just want to be able to understand and troubleshoot existing PLC programs better, then this video will help you get there and if you're looking for more free PLC training I want to let you know about a free cheat sheet I have where I'll show you the three things you need to know to understand any PLC system.
These are three very simple things but it's at the heart of every single PLC system. If you're interested in that be sure to click the link below so I can send you the cheat sheet and help you become a confident PLC programmer.
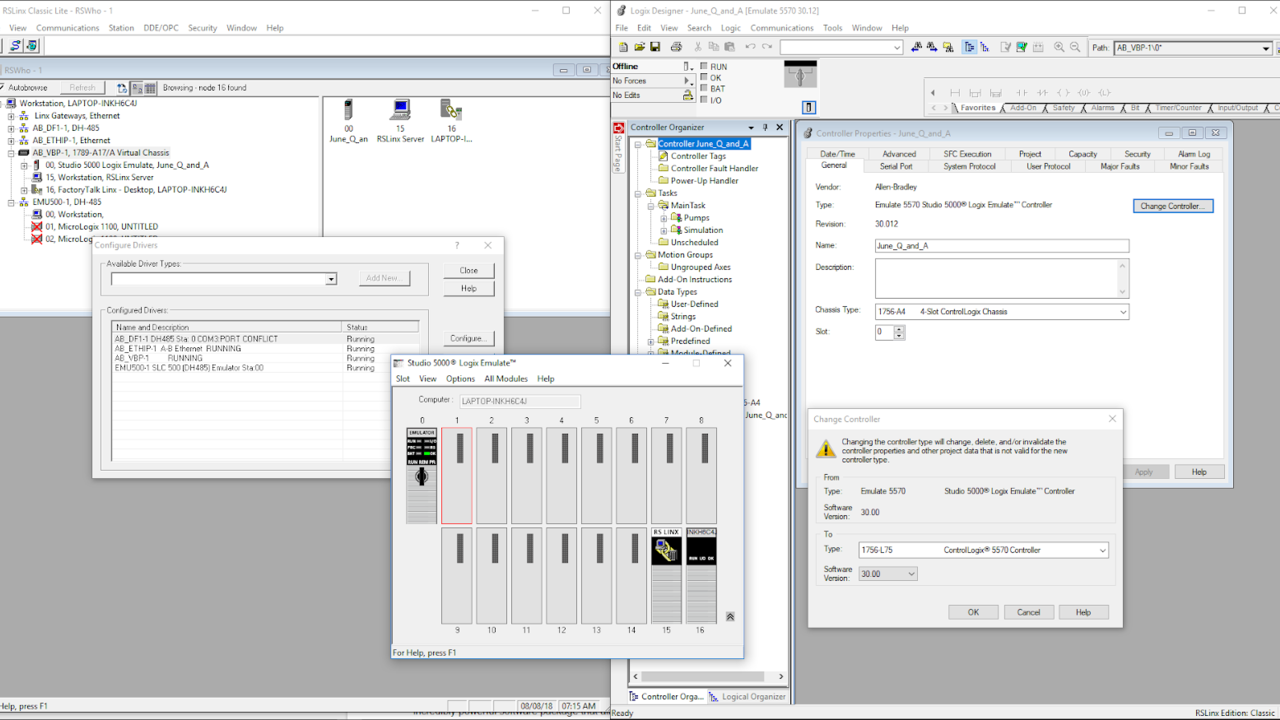
Okay, let's talk about comparison instructions. We're going to just jump right into this PLC program that I have open in Studio 5000 Logix Designer and we'll take a look.
Here we have one very simple rung and this is as simple as it gets. We have one XIC and it's being driven by a discreet input which is from our slot one input module which is an IB16 and it's input zero of that input module. That single XIC is driving a single OTE and that is one of our discreet outputs on our slot two output module and it's output zero of that output module.
This is a yellow light for a tank and this a float switch for that tank that tells us when the tank is 80 percent full and when it's full this logic, it's pretty simple, we'll just force this to show it. We force that, go to enable all IO forces and you can see, it turns on the yellow light
Really simple logic and we also have an analog input that's coming in through this 1756-IF8 analog input module and it tells us the exact level of the tank so let's say it's a chemical solution tank and this float sensor is going to tell us whether that solution is at 50 percent or 80 percent of the tank capacity, et cetera.
We could actually change this logic and have it do the same thing but use an analog input instead, so this comes on when the tank reaches 80 percent so if it's 80 percent or more basically.
We could use a greater than or equal instruction under the comparison section here. Greater than or equal and then I'm going to use the tag for the tank level percentage and we're going to say greater than or equal to 80.
Now we have the same functionality as this except we're doing it with the analog input instead of a discreet input so when the tank level percentage reaches 80 percent we'll turn on the yellow light and as long as it's 80 percent or higher it will stay on.
Okay, so we can just execute that change and then I'll just manually manipulate this tank level percentage, 70, it's still off. 78, 79, still off and then we go to 80 and it turns on and it will stay on as long as we are above 80.
That's how we can use an analog input to do similar functionality as a discreet input as long as the discreet input is monitoring the same system. This logic now says if the analog input for the tank level is greater or equal to 80 we turn on the yellow light to say the tank is almost full.
Now, we could also add a rung of logic to turn on a green light that says the tank is less than 50 percent full so I've created a tag here, tank green light and the analog input is going to be, we're going to put it in a comparison instruction here. If it's less than 50 percent we're going to turn on the tank green light and say, everything's cool, definitely ready to be filled up. That's how that will work.
If I just send that setting and then as I change this value to 50 this yellow light now comes off but we're still not on here because this needs to be less than 50 so if we go to 49, that turns on the tank green light.
If we were going to do this with discreet inputs we'd need a whole other separate discreet input that was set up for turning off above or at 50 percent basically. We'd need two discreet inputs to do this logic whereas we can use one analog input to do both these runs.
Analog inputs are nice that way because you can do logic based on a bunch of different data points rather than just one set point.
Okay, let's create another rung here and what we're going to do is, let's say that this tank is supposed to stay between 20 percent and 85 percent full all the time so if it ever gets outside of that range we need to sound an alarm.
We could use a combination of comparison instructions like greater than or equal and less than but I'm going to use a limit instruction which combines them itself. We can say, tank level percentage needs to be between 85 and what did we say, 20 percent full.
We'll create a tag called tank within level limits and then if we hit control W that will bring up the new tag editor here so tank within level limits, we'll make [inaudible 00:07:12] and we'll make it a controller scope tag so it'll be there, click create and now we have this rung which doesn't quite finish off what we need to do but it does tell us whether the tank is within the correct level limits.
It's between 20 and 85 so everything is good, if we go to 21, still on, if we got to 84 it's still on and if we go to 85 it's still on so if we go above 85 that's when it turns off or if we go below 20 it turns off as well.
The logic we wanted though was to sound an alarm if it goes outside of this range so let's add another rung and we'll get an XIO and tank within level limits, we'll say that when that bit is off we're going to sound the alarm so I'm going to create this new tag, tank outside limit alarm.
We're going to make this an alias to one of our discreet inputs, I'm sorry, outputs, local colon zero colon, what did I do here, local colon two, colon O dot data and then we'll say it's output two. Tank and then whoops, in our description we can say exactly what will turn this alarm on and so tank level is less than 20 percent or greater than 85 percent.
I think it's actually the less than or equal to 20 percent, okay, there we go and then so then everything's happy, the alarm is not on as long as the tank level percentage is there, we change it to 60, whoops, 60 everything's fine. 76, everything's fine, go down to 30, no problems, go down to 20 and 19 and now we're outside of the level limits and ... actually let's change this to less than 20 percent.
Outside the level limit this bit turns off which then allows this XIO to close so it's like a normally closed contact that is closed when denergized so that closes and turns on our tank outside limit alarm. Likewise, if we go above 85 that's going to sound that alarm or turn on that alarm light as well.
Now the last thing I want to show you is the same things but we're going to use a generic compare instruction. We're going to not change any of the logic except these compare instructions and we're going to have it do the same thing.
We have, you can create logic with certain instruct, with the compare instruction and make it do whatever you want so these are very specific but if you want you can use this and then write your own logic.
If we open this up and change this to a CMP and then we say tank level percentage, use the less than symbol, equal 80. So now we just typed out our equation basically, I'm going to copy that because we're going to use it again and we'll make this a CMP as well, compare instruction and before we were doing less than 50, actually this should be greater than or equal to 80, my bad. This one's less than 50, this one is greater than or equal to 80.
Okay, we're going to change this limit into two comparison instructions so we'll change this to a CMP and we'll say tank, whoops, tank level percentage and if it's a correct tag it will turn reddish, if it's not it'll be underlined like this, so if there's a real tag called that it will validate it that way.
We'll say tank level percentage needs to be greater than or equal to 20 and then I'll copy and paste this and it needs to be greater than or equal to 20 and less than or equal to 85. Okay.
Then we finalize those edits and we can see this will function exactly the same. Now, one downside of these comparison instructions is you cannot see the value of the tag unless you hover over the tag and then you can't edit it on the fly so if we want to edit the value of that analog tag on the fly, I'm going to open up the watch window here, we see tank level percentage shown and so if I change it to 20, we're now within tank level limits, the alarm goes off.
I go to 85, we're still within limits, if I go to 86, we're now without, we're outside the limits. There you go, that's how you can use comparison instructions in ladder logic and you can use these CMPs to do anything or you can use the prebuilt less than, equal or greater than or less than or equal et cetera limit instructions.
Play with that, see if you can make sense of some programs that you create yourself or hopefully this will help you even with your troubleshooting if you're already doing that and if you like this video and you're interested in getting more free training from myPLCtraining.com be sure to check out the link below to get your free cheat sheet on the three things you need to know to understand any PLC system.
This cheat sheet is really quick, it can really help you if you're new to PLC so definitely encourage you to check it out. Thanks for watching and we will talk to you next time.
Get the Free PLC Cheat Sheet
PLCs are really not that complicated. If you are new to PLCs or just looking to get a better handle on how they work, check out this free cheat sheet, called the "Motivated Electrician's Guide to Understanding ANY PLC System."


New to PLCs?
You can breeze through this cheat sheet in about 10 minutes and get a solid understanding of the big picture of how PLCs work. Perfect place to start.
Recent Posts