User Defined Data Types (UDT) in Studio 5000

In this blog post and video, we are continuing to help you toward becoming a confident PLC programmer by explaining a really cool feature in Studio 5000 that allows you to create reusable tag bundles.
I'm talking about User-Defined Data Type or UDTs. But before we get into this video, if you want some structured training courses and support to help you become a confident PLC programmer, then check out our membership called, myPLCtraining Academy. There should be a link below this video, if you’re interested.
Ok let’s get into this.
If you don’t know already there is a really cool feature in Studio 5000 Logix Designer called User-Defined Tags (UDT). This feature allows you to create “bundled” tags into one tag and then reference each of the bundled tags as members of the single main tag.
This can be really useful when you have multiple machines that all have the same inputs and/or outputs available to the PLC controller.
Check out the video, transcript and screenshots below.
User-Defined Data Types - Studio 5000 Logix Designer
Prefer to read? Go ahead...
Hey guys, it's Stephen Gates here from myPLCtraining.com. Back with another video to help you get confident with PLCs and become a confident PLC programmer. This training will be about user-defined data types in Studio 5000 Logix Designer. Also known as UDTs.
But before we get into that topic, just a quick reminder that if you want some structured training courses, support and access to Studio 5000, along with a community of other electricians technicians and engineers, and check out our membership called myPLCtraining Academy. And there should be a link below this video if you're interested.
Okay. So let's talk about user defined tags. This feature allows you to create bundled tags into 1 tag and then reference each of the bundled tags as members. Okay. So we'll look at what that means specifically, but you can basically create a bunch of different tag types, put them all into 1 bundle and then reference each 1 of those as needed.
So it may not sound that useful right now, but I'll show you and I think you'll see that it's pretty cool. So here we are in Logix Designer. And the example we're going to run with here is let's say you have 10 machines that you need to automate with your PLC. And each machine is identical. Let's say each has 20 discrete inputs 2 analog inputs. And so yeah, we'll just say inputs only. 20 discrete inputs and 2 analog inputs. And we're bringing this into your ControlLogix PLC.
So you could create 22 separate tags per machine. So that'd be a total of 220 tags, or you could create a User-Defined Data Type tag and use it 10 times. So the typical way someone might do this is to create 22 tags per machine like this. We'll just create these tags here on the fly. So let's say machine 1, start start button, and we'll make this a Boolean. Machine 1 copy and paste, stop button.
Now the copy and paste does make this process a lot less tedious. Machine_1_Running. Ok, I did not spell stop, "right" And then we'll make this a Boolean. Well, this will be the last 1 I do .Stopped. And that is not a button that is just the status input, make this a Boolean as well.
And then we could, we could have some other inputs as well, like alarm shut down, motor RPM, which let's do that 1. So machine 1, motor RPM, this'll be 1 of our analog inputs. And these are, these are kind of arbitrary, but certainly realistic something you can have with your machine in the real world. Let's say there's a fluid level, Level percent.
Okay. And we'll make that a REAL as well. So we've only only a 4 BOOLs and 2 REALs, but you get the idea. We could add the other 16 BOOLs, so it can be done. And then, you know, copy and paste makes this easier.
Like I said, if you do a copy and then paste, it's going to create the tags-duplicates of them. And it's going to add this 1 at the end. So then you could go through and change this to Machine_2 get rid of that 1 at the end, change this to Machine_2 and so on and so forth. It, all those to Machine_2 copy them again, change them to machine 3, et cetera.

So that's one way to do it. But...there's a better way. And that is user defined tags or user-defined data types. So let's create 1 here. So under data types we have user-defined right. Click choose new data type.
And we will say Cool_Machine. I have have no idea what machine would have all these inputs exactly, but maybe some custom machine. So we'll say Cool_Machine_UDT. You don't need to put UDT in the name, but it can be helpful. So now what we do is add members to our UDT.
So we can create a bunch of tags with this UDT later, but first let's add all the members. Okay. So we'll say Start_Button. So we don't even need to indicate which machine this is, right. We're just saying Start_button, Stop_Button. And we'll choose the data types in a second. But first we will add the rest of the member: .Running, .Stopped, .Alarm, .Shutdown, .Motor_RPM and .Fluid_Level
Can, you can have a bunch more discrete inputs. We said 20 originally. But I only came up with a 6 for now...BOOL and, and the more points you have per machine, the more useful this becomes, the more time it saves you.
Makee this one a BOOL. And then these are going to be REAL. So these are our analog inputs.
And that's all we need. So you can put a description next to these, if it's not clear what it does. But you don't need to do that. So hit apply. And, okay.

So now what we can do is just create these tags using that as our data type. So we'll say motor or Machine_1, And then we look for our new user defined data type. So search for Cool_Machine_UDT. There it is. Okay. And then we'll do Machine_2
Data Type: Cool_Machine_UDT. That's fine.
Machine_3, Machine_4. Cool.
So you can see how quick it is to create this. And before we go on, let's just drill down into 1 of these machines. So machine 1, there you go. You have a start button, stop button running, stopped alarm shut down motor RPM fluid level machine to drill down. You've got .Start_Button, .Stop_Button, .Running, .Stopped, .Alarm, .Shutdown, .Motor_RPM, .Fluid_Level, Machine_3, same thing.
So you can see, I did not have to individually create all these tags. I just had to create 1 tag called Cool_Machine_UDT and use that or 1 tag of the data type Cool_Machine UDT. And it, it creates all those members for me.
So that's where this really shines is when you have multiple machines or, or things that you're bringing in all the same data, and it doesn't have to be inputs. You could set it up for outputs. You could set it up for internal use only. So maybe it doesn't have any connections to inputs and outputs directly. But you use it for some of your internal logic. And then if you, you know, have multiple machines or multiple projects that use multiple machines, then you can just keep reusing that UDT over and over. So we'll create all 10.

And cool machine. All right. So then again, it's creating all those members for us automatically. So it's very neat. Too, because you don't end up with these big, long tag names, your, your tag names become shorter, and then you just reference dot whichever member that you need to reference.
So let's go to program and look at what it's like to reference these. So here we are in a ladder logic program we've got a XIC and an OTE. For our XIC we can pick Machine_1., And then you got all the options .Start_Button comes up as your first option, .Stop_Button, .Running. Let's say .Running is the 1 we want, and then this could be, you know, whatever that is.
And then if you were going to reference one of the analog inputs, we could do like a compare instruction and trigger some sort of alarm. We'll just make a tag here for fun: HMI_Alarm, and then we'll say Machine_2.Motor_ RPM. If it gets above 2000 RPM, then we're going to trigger the HMI_Alarm.

Okay. So there you go. Let's just quickly review those steps. First thing you create is a new Studio 5000 Logix Designer project. If you don't know how to do that, if you're not sure how I got here, we have a free blog post on that. Check that out on our blog. It may be linked below as well.
And then once you have the project created, expand your data types folder here, go to user defined, right click step 3 is select new data type, step 4, give it a name, whatever you want. We did Cool_Machine_UDT before. This one will be "Test". And then number five, start adding members, here's member number 1, and make sure you give it a data type.
So choose data type you want it to be and then continue adding members. And then when you're done, step six, just hit. Okay.
So then you've got a new UDT that you can use. It's really that simple. If we go here now, we should be able to see that...Test_Tag. You should be able to see that one. We just created called test, test, demo, click.
And now if we expand it, we have Member_1, which we created and for go in here and add more members, Member_2, click. Okay. It's going to give you that warning cause you're changing something that's already been created. Click. Yes. Now when we expand it there, we have 2 members. So that's another benefit to it. You can always add members later.
All right. So for this example, you can see we've got our, I don't know if it's 1, 2, 3, 4, 5, 6, 7, 8, so 8 times 10 = 80 tags. If we had 20 discrete inputs, like we originally talked, plus those 2 analog inputs. That's 22 per machine, 22 times 10, 220. And save you a lot of time.
So there you have it. That is an introduction to UDTs and Studio 5000 Logix Designer. Hope that was helpful. Be sure to subscribe to this channel, if you want more free PLC training content, we've got some good stuff coming up this year and also be sure to check out our membership: myPLCtraining Academy. Thanks for watching. We'll see you next time.
Want some more free Studio 5000 Resources? Click Here.
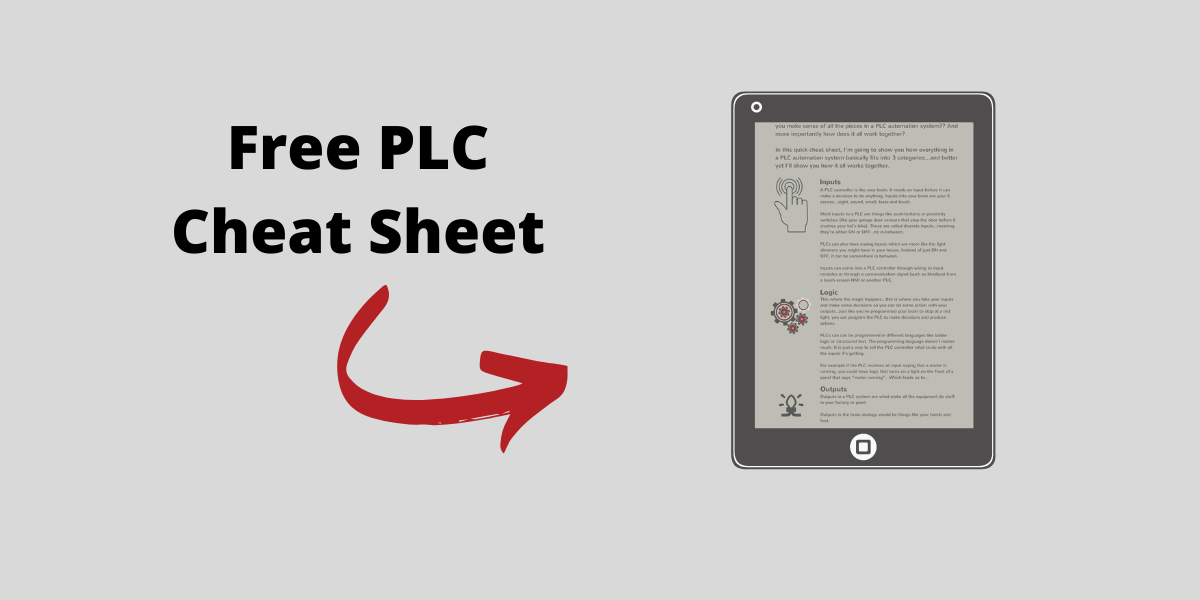
Get the Free PLC Cheat Sheet
PLCs are really not that complicated. If you are new to PLCs or just looking to get a better handle on how they work, check out this free cheat sheet, called the "Motivated Electrician's Guide to Understanding ANY PLC System."


New to PLCs?
You can breeze through this cheat sheet in about 10 minutes and get a solid understanding of the big picture of how PLCs work. Perfect place to start.
Recent Posts